


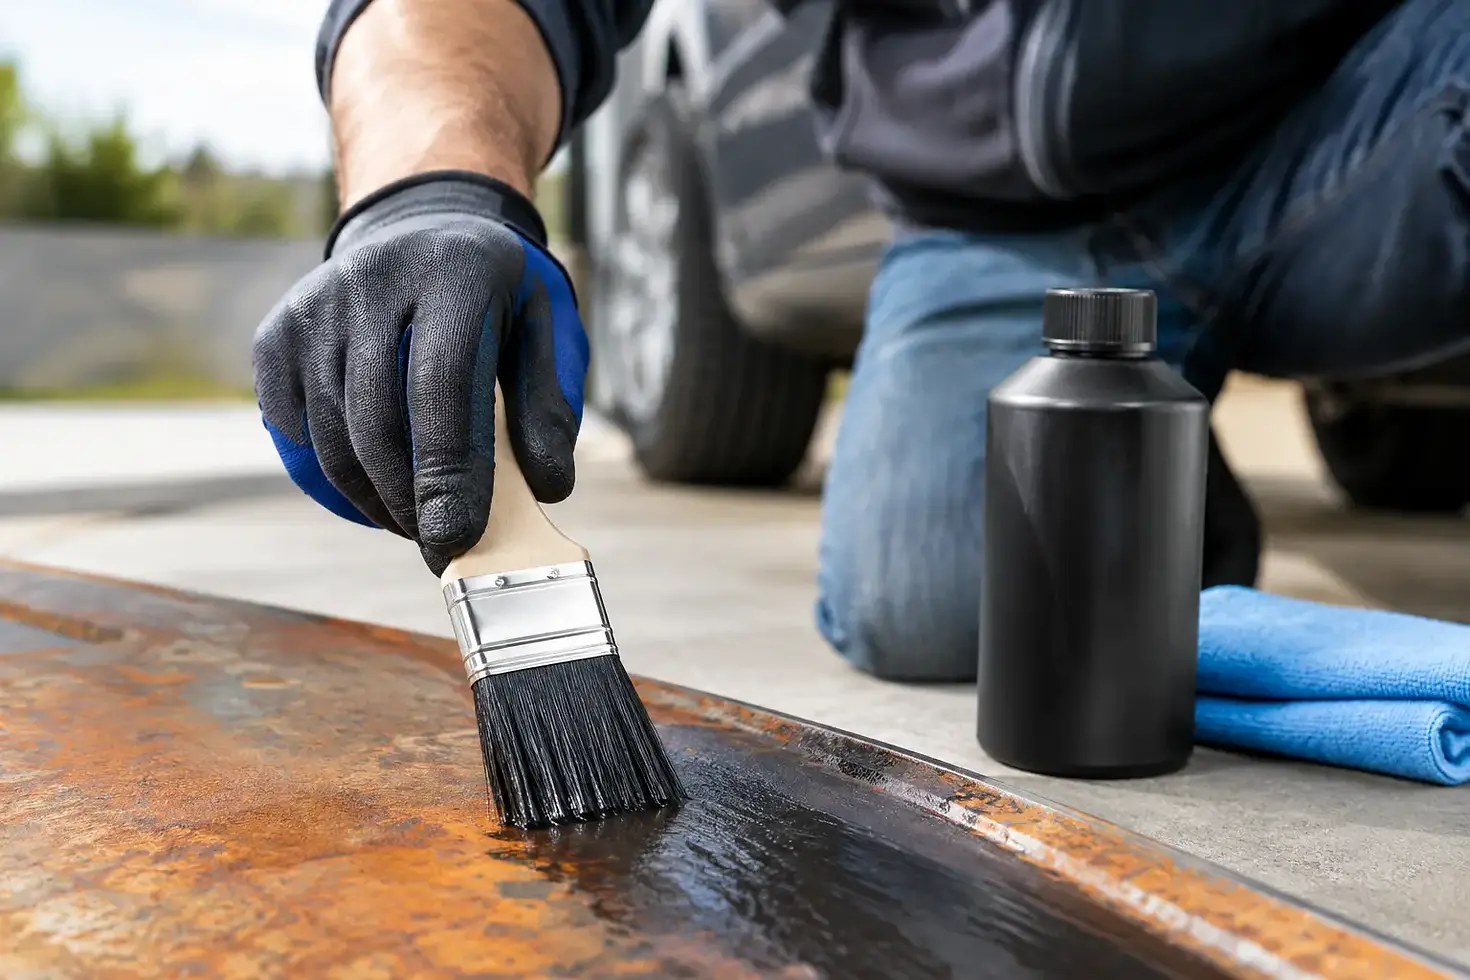
Rust Treatment Products in St Jean Richelieu
Rust treatment products in St Jean Richelieu are not all made for the same job. A surface-rusty bracket, a scaly truck frame, and a perforated floor pan need different repair plans. Pick the wrong coating or apply it over loose scale, and the rust comes back under fresh paint. Do the prep right, use the product that matches the metal condition, and the repair has a real chance of lasting.
For restoration work, the goal is not simply making rust look black or clean for a weekend. The goal is stable metal, proper adhesion, and a coating system that can handle water, salt, abrasion, heat, or chemicals where the part lives.
Rust Treatment Products in St Jean Richelieu: Start With the Metal
Before buying remover, converter, encapsulator, or primer, inspect the part honestly. Wire-brushing a frame until it looks better does not mean the steel is sound. Probe seams, lap joints, body mounts, spring perches, rocker panels, and the underside of floor pans. If a pick goes through the metal, coating is not the repair. Cut it out, fabricate a patch, weld it in, and protect both sides of the repair.
For solid metal with light orange surface rust, mechanical cleaning followed by a chemical rust remover or metal prep can be enough. Abrasive blasting is often the fastest route for frames, suspension pieces, wheels, and stripped body panels, but it needs the right media, air supply, containment, and safety gear. A grinder, wire wheel, stripping disc, or needle scaler can handle smaller repairs and areas where blasting is not practical.
The trade-off is simple: more preparation takes more time now, but it gives coatings a clean anchor. Heavy scale left in place can continue holding moisture even after it has been painted.
Choose the Product by the Repair Stage
A complete rust-control job usually involves more than one product. Each stage has a purpose, and skipping a stage just to save a few dollars often creates extra work later.
Rust removers and metal prep
Rust removers are meant to dissolve oxidation or loosen it from the steel. They work well on hardware, brackets, small suspension parts, and components that can be soaked or kept wet with product. Metal prep products etch and clean bare steel after sanding or blasting, helping remove contamination and improve primer adhesion.
These products do not rebuild rusted-out steel. They also need to be rinsed, neutralized, or dried according to the manufacturer instructions. Leaving chemical residue behind can create paint problems that look like adhesion failure, lifting, or flash rust.
Rust converters and encapsulators
Converters react with tightly bonded rust and change its surface chemistry so it can be coated. Encapsulators are designed to seal prepared rusty metal from air and moisture. Both can be useful on pitted areas where reaching clean white metal would be unrealistic or would damage the part.
They are not magic coatings for loose scale. Remove everything that flakes, chips, or lifts under a scraper first. On a rough truck frame, that may mean degreasing, pressure washing, needle scaling, grinding, and blowing out seams before any coating goes on. If the surface is contaminated with oil, road film, or old undercoating, no rust treatment product will bond properly.
Primers for bare steel and repairs
After blasting or grinding to clean steel, use a quality primer system suited to the topcoat and the part. Epoxy primer is a strong choice for sealing bare steel, patch panels, and restoration repairs because it offers excellent adhesion and corrosion resistance. Self-etching primer can be useful in specific paint systems, but it is not a substitute for a durable buildable coating on a frame or floor repair.
For a chassis, select a coating made for impact, road debris, and fluid exposure. For bodywork, choose products that fit the planned paint process. A frame coating that looks great underneath a truck may not be compatible with filler, surfacer, or a basecoat-clearcoat finish on an exterior panel.
Match the Coating to the Vehicle Area
The underside of a vehicle sees conditions an engine bay or trunk floor may never face. Road salt, wet gravel, heat cycling, brake dust, fuel, oil, and abrasion all affect product selection.
Frames, crossmembers, axle housings, and suspension parts need tough coverage and careful work around welds, seams, brackets, and boxed sections. Use brushes to work coating into corners, then apply even full coats by brush, roller, or spray equipment as the product allows. Thin spots around sharp edges are where corrosion starts first.
Floor pans, trunk floors, and inner body panels need protection on both sides whenever access allows. After welding a patch, clean the weld area, prime it, seam seal the joints where required, and coat the underside for impact resistance. Leaving the back side bare because it is hard to reach is an invitation for rust to return.
For doors, rockers, quarter panels, and other enclosed cavities, cavity wax or internal corrosion protection matters as much as the visible exterior repair. Rust frequently starts from the inside where condensation and debris collect. A good exterior paint job cannot protect a seam that is rusting behind it.
Preparation Mistakes That Ruin Good Products
The most common failure is coating over contamination. Silicone from detailing products, greasy fingerprints, old oil, and blasting dust all interfere with adhesion. Degrease before sanding or blasting, then clean again before coating. Use clean gloves after final prep so skin oils do not get transferred back onto bare steel.
Another problem is waiting too long after blasting. Fresh steel can flash rust quickly in humid conditions. Have primer, reducers, mixing supplies, spray equipment, brushes, and masking materials ready before the blasting starts. If flash rust appears, do not bury it under primer and hope for the best. Re-prep the surface.
Film thickness matters too. One heavy coat can skin over, trap solvent, sag, or cure poorly. Several controlled coats usually produce better coverage and durability. Follow the product's recoat windows, mixing ratio, temperature limits, and cure time. Shop temperature is not a minor detail when you are coating a frame in an unheated garage.
Build a Practical Rust Repair Kit
For most DIY restorations, keep the workflow simple: cleaning supplies, abrasive tools, rust remover or metal prep, the correct primer or encapsulator, seam sealer, chassis or paint topcoat, and cavity protection for enclosed sections. Add quality respirator cartridges, gloves, eye protection, and coveralls. Grinding dust, blasting media, and coating fumes are part of the job, not something to work around with a paper mask.
If you are restoring a classic, an older pickup, or a weekend race car, buy enough material to finish a complete area. Mixing products from random systems can work, but compatibility is never guaranteed. Staying within a proven coating system from brands such as Eastwood or KBS Coatings makes the process easier to control, especially when primer, topcoat, and prep products are designed to work together.
GTPRACING supports builders who need more than a can of paint: rust repair materials, fabrication tools, coatings, and the parts needed to move the project from stripped shell to running vehicle.
When Rust Treatment Is Not Enough
There is a point where rust treatment becomes cosmetic rather than repair. Structural frame rot, rusted suspension mounting points, weakened seatbelt anchors, perforated brake line brackets, and badly corroded fuel-system mounts need metal replacement and inspection. If the part carries load, locates suspension, supports occupants, or affects braking, treat it like a safety repair.
For non-structural parts, a pitted finish may be acceptable if the metal is solid and properly sealed. For a show-quality restoration, blasting and metal finishing may be worth the extra labor. For a working truck, a durable chassis coating over fully prepared metal may be the smarter use of time and budget. The right answer depends on the vehicle's use, the metal condition, and how long you expect the repair to last.
Start with clean, stable steel and work outward from there. That is how rusty parts come back to life without becoming the same repair again next season.


Comments