


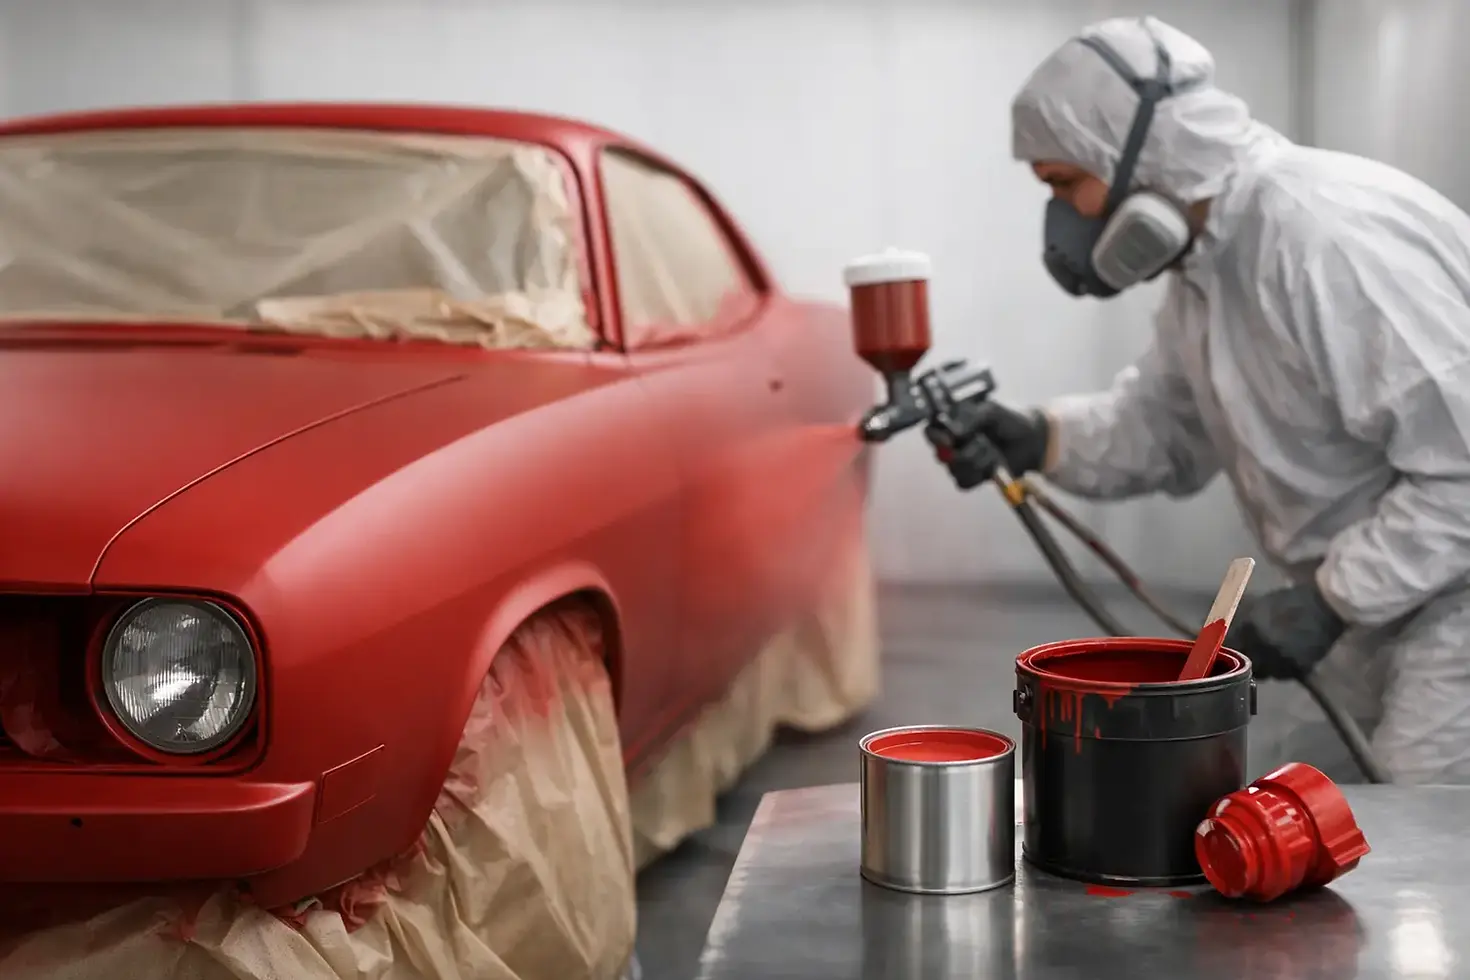
Single Stage Flat Automotive Paint Explained
A flat finish can make a purpose-built truck, stripped-down race car, or underhood restoration look exactly right. But single stage flat automotive paint is not a shortcut for poor prep, and it will not hide bad bodywork just because it has no shine. It is a durable, practical coating choice when you understand what it does well, where it belongs, and how to spray it without creating a blotchy finish.
For chassis components, engine bays, brackets, firewall panels, restoration parts, and race-oriented builds, a flat or low-gloss single stage can deliver the clean, tough look many projects need. Do the prep right, choose the proper sheen, and let the coating cure before putting the part back into service.
What Is Single Stage Flat Automotive Paint?
Single stage paint carries its color and its final sheen in the same coating. Unlike a basecoat-clearcoat system, it does not require a separate clear layer to produce the finished surface. The paint is mixed, sprayed, and cured as one system.
With a flat version, the sheen is reduced through the formula or a flattening agent. The result ranges from dead-flat matte to satin or semi-gloss, depending on the product and mix ratio. That makes it a strong fit for parts that should look factory-correct, race-ready, or deliberately understated instead of glossy.
The practical benefit is a simpler coating process. There are fewer spray steps, less material use, and no need to apply clear simply to protect the color. That does not mean every job is easier. Flat finishes demand consistent technique because uneven film build, overlap, or spray distance can show up as uneven sheen.
Where Flat Single Stage Paint Makes Sense
Single stage flat paint is often the right call when durability and appearance matter, but show-car gloss does not. Engine compartments, inner fenders, radiator supports, core supports, suspension pieces, brackets, roll cages, chassis parts, and utility trailers are common examples.
It also works well on older trucks and restorations where the original finish was low-gloss rather than deep clearcoat shine. A satin black firewall can look correct and clean without pulling attention away from the engine. A flat black hood or race body panel can reduce glare and support a competition look.
Exterior body panels are where the trade-off deserves more thought. A flat-finish street vehicle can look tough, but matte surfaces are harder to repair invisibly than gloss paint. You generally cannot compound scratches out, and polishing will create shiny spots. If the car sees regular road use, parking lots, road salt, fuel spills, and frequent washing, consider whether satin may be the more forgiving choice.
Prep Decides Whether the Finish Holds Up
Paint is only as good as the surface under it. Flat paint may hide reflected light better than gloss, but it will not fix loose rust, peeling old coatings, silicone contamination, or poor filler work. Surface preparation is where durable work begins.
Start by removing failed paint, rust scale, oil, and road grime. Abrasive blasting is effective for frames, brackets, and heavily corroded parts, provided the metal is cleaned thoroughly afterward and coated before flash rust starts. For sound existing finishes, sand to create a uniform mechanical tooth and feather any repair edges until they disappear to the touch.
Bare steel needs the right primer system before topcoat. Epoxy primer is commonly used where corrosion resistance and adhesion matter. High-build primer is useful over bodywork when you need to block the panel straight. Let primers cure according to their technical requirements, then sand and clean the surface before color.
Do not skip wax and grease remover. Fingerprints, cutting fluid, armor-type dressings, and shop contaminants can create fisheyes or adhesion trouble. Use clean lint-free wipes, change them often, and avoid touching the panel after final cleaning. A clean spray area, filtered air, and a moisture-free air supply are just as important as the gun setup.
Spraying Single Stage Flat Automotive Paint
Read the product instructions before mixing. Reducer selection, activator use, induction time, nozzle size, flash time, and recommended film thickness vary by system. Mixing by guesswork is a good way to end up with soft paint, poor adhesion, or a sheen that does not match from panel to panel.
Set up test panels before spraying a finished hood, door, or chassis. A small piece of primed sheet metal lets you verify fan pattern, atomization, coverage, and sheen. This is especially valuable if you are using a flattening additive. Small ratio changes can move the result from satin to nearly dead-flat.
Apply medium, controlled coats with consistent gun distance and overlap. A typical starting point is roughly 50 percent overlap, but follow the paint system requirements and adjust to the panel shape. Keep the gun square to the work. Swinging the gun at the end of a pass changes the distance, which can create dry edges and an uneven look.
Flat paint is not the place to chase a wet, glossy coat. Over-applying material can cause runs, solvent trapping, and sheen variation. Under-applying can leave dry spray and poor coverage. The target is an even, uniform film that flashes properly between coats.
Temperature and humidity matter. Cold metal slows cure and can affect flow. Excessive heat can flash solvent too quickly, leaving dry texture. High humidity can create moisture-related problems in some systems. If you are painting in a home shop, work within the coating manufacturer’s temperature range and give the part enough time to cure before assembly.
Common Problems With Flat Finishes
The most common complaint is uneven sheen. One section looks flatter or glossier than the rest. This usually comes from inconsistent coat thickness, uneven overlap, poor mixing, changing gun distance, or allowing one pass to dry too much before the next one overlaps it.
Mottling and striping can occur on large panels if the painter works in narrow sections or changes the spray pattern mid-panel. Plan the job before pulling the trigger. On a hood or roof, maintain a wet edge and use a steady pace from one end to the other.
Contamination is another frequent problem. Fisheyes, craters, and adhesion failure are rarely fixed by adding more paint. Stop, identify the contamination source, clean the equipment, and prepare the panel again. Compressed air systems with water or oil in the line can ruin an otherwise well-prepped job.
After curing, do not treat flat paint like conventional gloss. Avoid aggressive compounds, waxes that add shine, and harsh cleaners. Use a mild automotive cleaner and a soft wash mitt. If a flat panel gets scratched or stained beyond cleaning, refinishing that panel is often the proper repair.
Choosing Flat, Matte, or Satin
Dead-flat finishes are best when glare reduction and a raw competition appearance are the goal. They suit race interiors, hoods, cages, and non-cosmetic chassis work. They also show fingerprints, dust, and handling marks more readily than many owners expect.
Matte offers a similar non-reflective look with slightly more visual depth. Satin has more sheen, cleans easier, and is often the better fit for engine bays, frames, and street-driven projects. It still looks purposeful, but it is less unforgiving when the vehicle gets used.
Color matters too. Flat black is the common choice, but low-gloss whites, grays, military-inspired greens, and custom colors can work well when the vehicle’s overall build supports them. Keep all related parts on the same paint system and sheen target. A satin firewall next to dead-flat inner fenders can look like a mismatch unless that contrast is intentional.
For restoration and race projects, GTPRACING customers should think beyond the topcoat. The correct primer, abrasives, cleaning materials, spray equipment, and safety gear are part of the same job. Cutting corners on any one of them usually shows up after the vehicle is assembled.
A well-sprayed flat finish does not need to beg for attention. On the right build, it makes the fabrication, hardware, engine, and stance do the talking.


Comments