


Custom Exhaust Fabrication Guide for Real Builds
A custom exhaust fabrication guide starts with one hard truth: a system that looks good on the shop floor can still rattle, leak, drone, scrape, or choke an engine once it is under the vehicle. Good exhaust work is not just about bending tube and stacking weld dimes. It is about planning the entire path around horsepower, heat, suspension travel, ground clearance, service access, and the way the vehicle will actually be driven.
Whether you are building a restored muscle car, a turbo street truck, or a dedicated race car, do the layout work before you cut expensive stainless tube. The right materials and tools matter, but measurement and fit-up are what keep a custom system from becoming a redo.
Start With the Job the Exhaust Has to Do
Before choosing pipe diameter or mufflers, define the vehicle. A naturally aspirated small-block street car, a high-rpm LS swap, and a boosted drag application do not need the same system. The engine combination, intended RPM range, power target, fuel type, transmission, rear suspension, and available space all affect the final design.
For a street build, cabin noise, heat control, and ground clearance may matter as much as peak power. A race car may accept a shorter, louder system if it clears the chassis and meets track rules. Restoration work often adds another constraint: the exhaust needs to fit the factory floorpan, crossmember, fuel tank, and bumper openings without looking like an afterthought.
Write down the basics before ordering parts: engine displacement, induction type, estimated horsepower, header collector size, exhaust exit location, and whether the system needs catalytic converters, mufflers, resonators, cutouts, or a merge collector. This keeps the job focused and helps prevent buying bends that never get used.
Choose Tube Size Without Chasing the Biggest Number
Oversized exhaust is a common fabrication mistake. Large pipe may look serious, but it can reduce low-speed response, create packaging headaches, and make noise control harder. Pipe size should support the engine's airflow without turning the entire underbody into a clearance problem.
A mild V8 street build commonly works well with dual 2.25-inch or 2.5-inch tubing. Higher-output naturally aspirated combinations may need dual 3-inch exhaust. Turbocharged applications often benefit from larger tubing after the turbine because backpressure becomes more critical, but the available room still decides what is practical.
Collector and transition design matter too. A sharp step from a 3-inch collector into smaller tubing can disrupt flow, while a properly sized reducer or merge transition maintains a cleaner path. If packaging forces a compromise, use smooth-radius bends and avoid flattening the tube with a hammer. A slightly smaller round pipe generally works better than a larger pipe crushed around an obstacle.
Mild Steel, Aluminized Steel, or Stainless
Material selection comes down to budget, climate, fabrication method, and how long the vehicle needs to stay clean underneath. Aluminized steel is cost-effective for many street and restoration projects and is easier on the budget when building a full system. Mild steel is easy to work with but needs quality paint, coating, or protection if the vehicle sees moisture.
Stainless steel costs more and demands cleaner welding practice, but it is a strong choice for long-term street use, show builds, and vehicles exposed to road salt. Use the correct filler material and avoid contaminating stainless with tools that have been used heavily on regular steel. That kind of shortcut shows up later as surface rust and ugly weld discoloration.
Route the System Before You Fabricate It
Put the vehicle at ride height before finalizing the route. This is non-negotiable. If you build an exhaust with the suspension hanging, the axle, control arms, driveshaft, or panhard bar can move straight into the pipe once the vehicle is back on the ground. https://www.eastwoodcanada.com/product-page/eastwood-canada-high-capacity-tubing-bender-21115 Start at the headers or turbo outlet and work toward the rear. Use welding rod, flexible wire, cardboard templates, or mock-up tubing to establish the centerline. This is where you identify tight areas around the transmission crossmember, starter, bellhousing, brake lines, fuel lines, driveshaft, rear suspension, and fuel tank.
Leave enough room for movement and heat. Exhaust tubing grows as it gets hot, engines twist on their mounts, and drivetrains move under load. A pipe that has only a finger-width of clearance in the shop may knock against a crossmember every time the throttle opens. https://www.eastwoodcanada.com/product-page/eastwood-canada-pro-former-tubing-bender-12485 Aim for meaningful clearance wherever possible, especially around wiring, fuel plumbing, brake hoses, and painted or coated surfaces.
Build Around Service Access
A clean exhaust should not make routine service miserable. Make sure the transmission pan, oil filter, starter, oxygen sensors, driveshaft fasteners, and suspension hardware can still be reached. If the system must pass under a removable crossmember or near a transmission, use V-band clamps or quality flanged connections in logical locations.
V-bands are especially useful on turbo systems, merge collectors, and tight race-car packaging. They offer a compact, serviceable joint when properly aligned. Slip joints can work well on longer systems where expansion needs to be managed, but they need adequate overlap and secure clamping or welding.
Cut, Fit, and Tack With Patience
Most clean custom exhaust systems are built from straight tube, U-bends, J-bends, and carefully chosen transitions. Buy more bends than the drawing suggests. It is cheaper than stopping a job because one bad cut left you short on the one radius you need.
Make each cut square. A band saw is ideal, but a quality abrasive saw, chop saw, or cutoff wheel can work if you take time to mark the tube accurately. Deburr every cut before fitting. Burrs interfere with tight joints and can make a weld look worse than it needs to.
Tack the whole system before committing to final welds. Use several strong tacks at each joint so the assembly can be handled without shifting. Check hanger placement, suspension movement, driveshaft clearance, and body clearance again before welding anything solid. Exhaust fabrication rewards the builder who measures twice, test-fits three times, and welds once.https://www.eastwoodcanada.com/product-page/bendpak-bb-2-pipe-bender-w-b-2-die-package-5115150
Welding and Joint Quality Matter
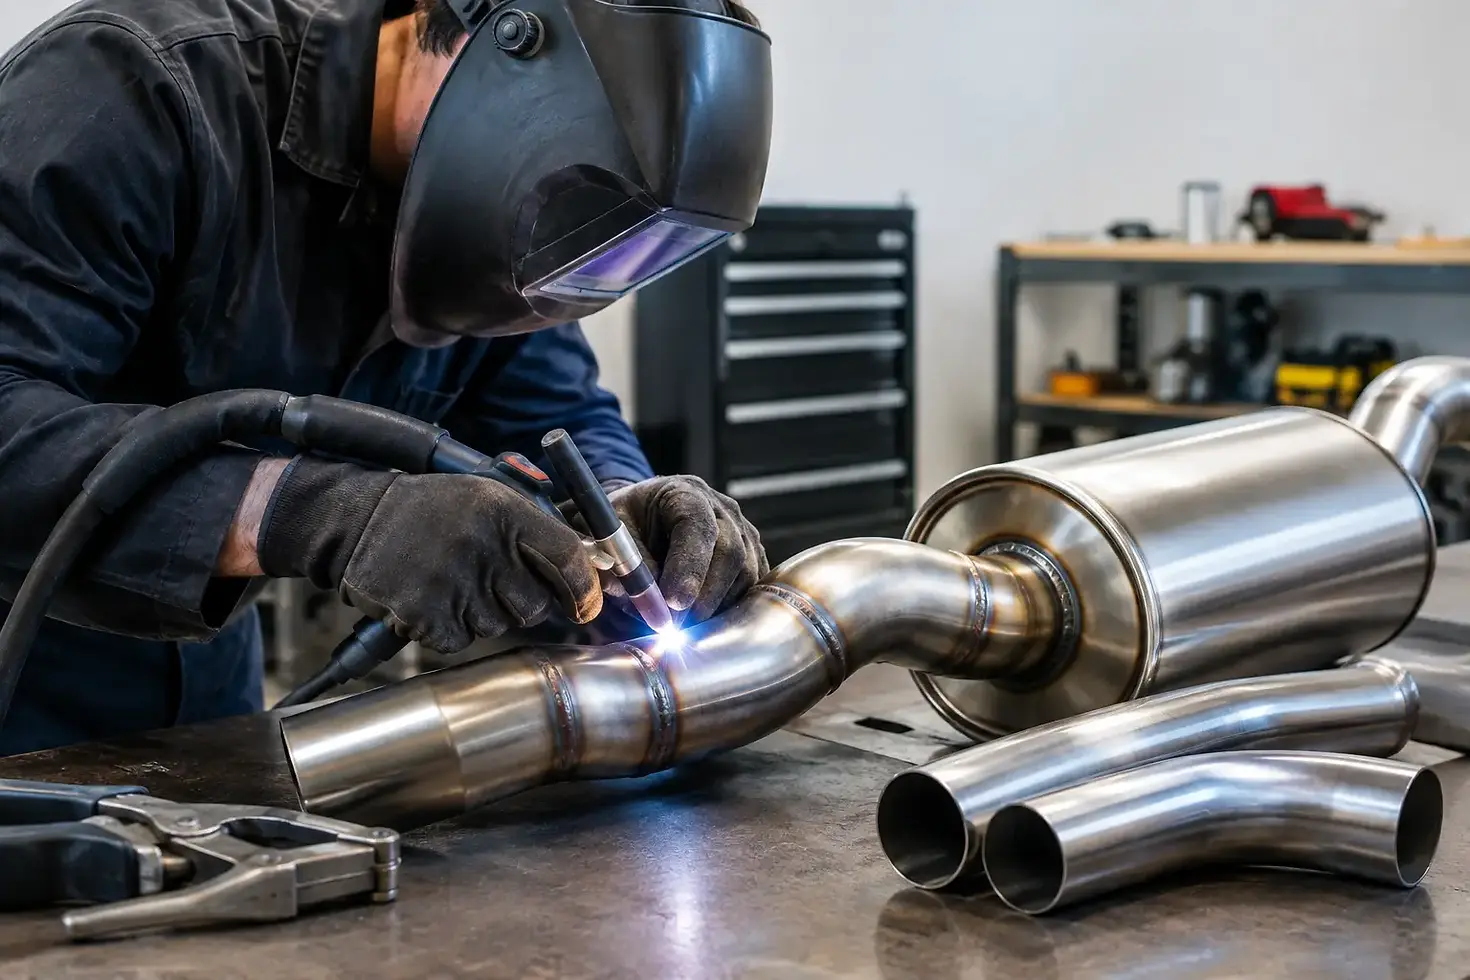
MIG welding is practical for aluminized and mild-steel systems, especially for shop and DIY work. TIG provides excellent control for stainless, thin-wall tube, visible welds, and tight transitions, but only when the fit-up is clean. A large gap is not a welding challenge to overcome. It is a fitment problem to correct.
Back-purging stainless tubing is worth the effort when building high-end or race-focused systems. It helps prevent heavy oxidation inside the tube, where rough buildup can restrict flow and weaken the weld area. For a basic mild-steel street exhaust, sound penetration and leak-free welds are the priority. https://www.eastwoodcanada.com/welding
Avoid welding long sections continuously while they are mounted under the vehicle. Heat can pull the assembly out of shape, damage nearby finishes, and put unnecessary heat into the floor. Weld manageable sections on the bench when possible, then reinstall for final checks.
Use Hangers That Control Movement
A great exhaust can fail because of poor hanger design. The system needs support, but it also needs controlled movement as the engine and chassis flex. Place hangers near heavier components such as mufflers, resonators, catalytic converters, and tailpipe ends. Long unsupported sections eventually crack at the nearest weld or bracket.
Use insulated hangers or quality rubber isolators for street vehicles. Solid-mounted exhaust components may be acceptable on a race car, but they transfer vibration into the chassis and can fatigue tubing over time. Make sure the hanger rod points in a direction that prevents the rubber isolator from walking off under acceleration or deceleration.
Control Heat, Noise, and Finish
Heat management is part of the exhaust plan, not an accessory added at the end. Protect nearby fuel lines, wiring, brake components, and floorpan areas with proper routing, heat shields, and insulation where required. Exhaust wrap has a place on certain race and turbo applications, but it can trap moisture on some materials and makes regular inspection harder. Ceramic-coated headers or properly placed shields are often the better long-term answer for street vehicles.
Sound control is equally application-specific. Mufflers reduce volume, while resonators target unwanted frequencies and help control drone. An X-pipe can balance pulses and change tone on many dual-exhaust V8 combinations. An H-pipe generally delivers a deeper traditional sound. Neither is automatically better - packaging, engine combination, and the sound you want all matter.
Once the system is final-welded, inspect every joint, clamp, hanger, and close-clearance area. Start the vehicle and check for leaks with the exhaust cold, then recheck after a full heat cycle. Watch for witness marks where pipes may contact the chassis under movement.
GTPRACING carries the fabrication equipment, welding supplies, coatings, and performance hardware needed to build an exhaust system that fits the vehicle instead of fighting it. Take the extra time at mock-up, leave room for movement, and build every joint like you may have to service it later. That is how custom work stays clean, quiet where it should be, and reliable when the engine is making real power.


Comments