


How Truck Cab Corner Repair Holds Up for Years
Cab corners rarely rust from the outside first. The blistering paint you can see is usually the final warning that moisture, dirt, and road salt have been working inside the rocker, cab support area, or lower bedside for years. A truck cab corner repair that only fixes what is visible may look good through one season, then bubble again from behind.
Do the job right by treating the cab corner as part of a larger corrosion system. That means inspecting the inner structure, removing every weak section, fitting proper replacement steel, controlling heat during welding, and coating the back side before the repair disappears behind paint. The outer patch matters, but the protection behind it is what decides whether the repair lasts.
Start With a Real Rust Assessment
Before ordering a cab corner patch panel, strip enough material away to see what you are dealing with. Remove the lower trim, mud flaps, wheelhouse liner if equipped, and any interior trim that blocks access to the inside of the cab corner. On many trucks, the rust extends into the lower rocker, inner cab corner, cab mount area, or floor edge.
Use a pick, hammer, wire wheel, and bright light. If the metal flexes, flakes, or has deep pitting around a seam, it is not solid enough to weld to. A patch panel cannot rescue thin metal. Welding to it causes blow-through, distortion, and a weak repair line that will fail under paint.
Look closely at the source of the moisture. Clogged drain paths, missing seam sealer, damaged wheelhouse liners, leaking rear windows, and packed mud behind the rocker all need attention. If you repair the cab corner without correcting the water path, you are setting up the same failure again. https://www.gtpracing.com/product-page/eastwood-canada-rockwood-plasma-cut-40-amp-plasma-cutter?currency=CAD
Check Both Sides of the Panel
The outside of the cab may show only a two-inch rust bubble while the backside is rusted across a much larger area. Access from inside the cab or through an adjacent opening whenever possible. A small inspection camera is useful when boxed structures cannot be viewed directly.
This is also the time to decide whether a patch is realistic. If the outer corner is rusty but the inner structure is sound, a quality stamped patch panel can save time. If the rocker, inner corner, and cab support are compromised, plan the repair as a larger section replacement. Trying to preserve rotten layers simply creates more seams and more places for moisture to return.
Choose the Right Steel for the Repair
A vehicle-specific cab corner panel is usually the fastest route for a stock-style restoration. Good stamped panels preserve the body line, wheel opening shape, and lower contour that are difficult to reproduce by hand. Test-fit it before cutting the truck. Reproduction panels can vary, and trimming the replacement panel first gives you a clear target for your cut line.
For custom trucks, race support vehicles, or repairs that include modified wheel openings, flat sheet steel may be the better choice. Use automotive-grade mild steel close to the factory panel thickness. Material that is too thin warps easily and feels flimsy. Material that is too thick is harder to form, harder to weld cleanly, and can leave an obvious transition at the repair.
Avoid overlapping an outer patch over rusted original metal. Overlap seams can work in specific structural applications when properly protected, but they trap contamination on cosmetic body repairs and make the backside difficult to seal. A clean butt weld takes more time, yet it produces a better repair when the panel is properly fitted.
Truck Cab Corner Repair Starts With Clean Cuts
Mark your repair area well beyond visible rust. Use masking tape or a marker to establish a cut line that follows a natural body contour when possible. Keeping the joint out of the middle of a broad, flat section makes final metal finishing easier.
Cut the damaged metal out in stages. A cut-off wheel, air saw, or electric body saw gives better control than aggressive grinding. Leave extra material at first, then trim back to clean, solid steel. Do not chase pinholes with the welder. Once rust has perforated a panel, the surrounding metal is often too thin to trust. https://www.gtpracing.com/tools?currency=CAD
Clean the remaining steel to bright metal on both sides of the joint. Remove paint, undercoating, seam sealer, and rust at least an inch away from where you plan to weld. Contamination creates porosity and makes a clean weld nearly impossible.
Fit Before You Weld
The replacement panel should sit flush with an even, tight gap. A gap around the thickness of a cut-off wheel is workable for MIG welding, but wider gaps require more filler metal and more heat. Use panel clamps, magnets, or temporary screws to hold the section in position while you check the body line from several angles. https://www.gtpracing.com/product-page/eastwood-canada-tools-products-eastwood-solid-rivet-kit-20127kx?currency=CAD
Close the door and verify the relationship between the cab corner, rocker, bedside, and rear wheel opening. On a regular-cab truck, even a small shift in the lower corner can stand out beside the door gap. Take the time now. Once the panel is fully welded, correcting alignment becomes much harder.
Control Heat During Welding
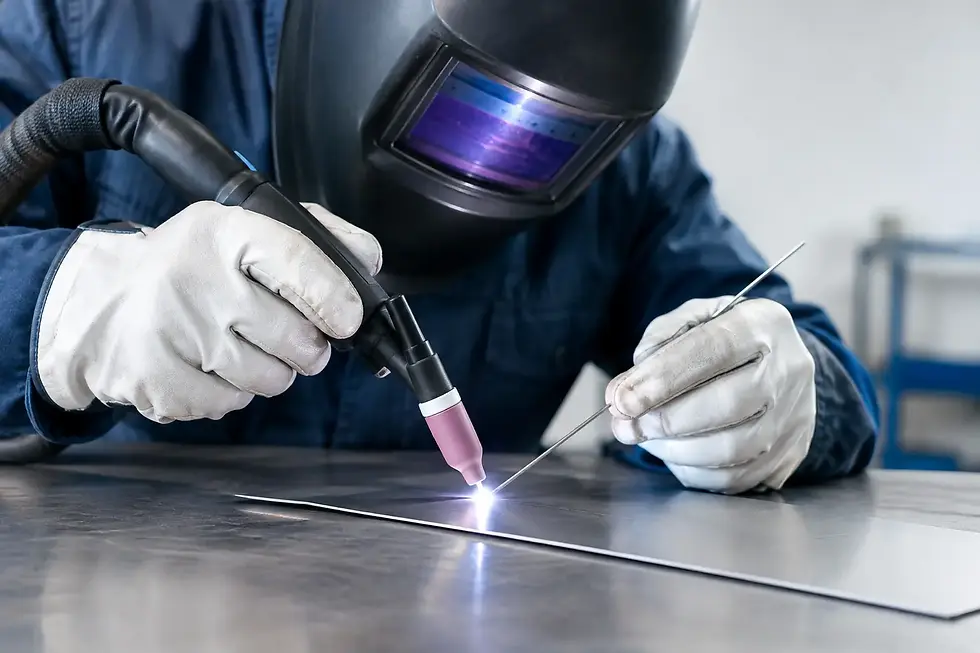
For most truck cab corner work, a properly set MIG welder is the practical choice. Use a series of short tack welds spaced around the seam rather than trying to run a continuous bead. Move around the panel, let each area cool, and gradually connect the tacks. This keeps heat out of the sheet metal and reduces warping. https://www.gtpracing.com/welding?currency=CAD
If the weld starts blowing through, stop and reassess. The usual causes are metal that is too thin, a gap that is too wide, contaminated steel, or settings that are too hot. Turning up the wire speed or continuing to fill holes without fixing the problem only builds a rough weld that requires excessive grinding.
Grind welds carefully. Start with a flap disc or similar controlled abrasive and keep the grinder moving. The goal is to level the weld without thinning the original cab metal beside it. Do not grind a body seam paper-thin just to make it disappear under filler.
Seal the Backside Before It Disappears
A clean weld alone is not rust protection. The inside of the cab corner is exposed to condensation, tire spray, dust, and salt, especially on trucks that see wet roads. Before closing access, clean the repair area thoroughly and apply a corrosion-resistant coating system compatible with your primer and seam sealer. https://www.gtpracing.com/search?currency=CAD&q=seam
Weld-through primer is useful on mating flanges that will be inaccessible after assembly, but it is not a finished protective coating. After welding and cleanup, coat the backside of the repair, inner seams, and adjacent bare metal with a durable rust-preventive coating. Brush or spray application both work, depending on access and product requirements.
After the coating has cured as directed, apply automotive seam sealer to every factory-style seam you opened or created. Seam sealer is not cosmetic. It prevents water and abrasive debris from entering the joint. Follow with appropriate primer, paint, and underbody protection where the truck originally had it.
For enclosed cavities, use a cavity wax or internal corrosion inhibitor with an extension wand. The product needs to reach the upper inside corner, the rocker connection, and the seams that cannot be painted conventionally. This step is especially valuable for northern trucks that deal with road salt. https://www.gtpracing.com/product-page/eastwood-canada-rust-encapsulator-and-internal-frame-coating-combo-kit-98459?currency=CAD
Finish the Outside Like a Body Repair
Once the metal is welded and protected, apply epoxy primer over properly prepared bare steel according to the paint system instructions. Epoxy provides an excellent foundation for the repair and isolates the metal before filler work. If minor leveling is needed, keep body filler thin and use it only over sound, prepared metal.
Block the repair area with a guide coat so the cab corner follows the original contour. Cab corners have subtle curves that can look right in primer but show a low spot once gloss paint hits them. Take your time through primer surfacer, blocking, sealing, basecoat, and clearcoat. A durable repair deserves a finish that matches the work underneath.
Shortcuts That Cost You Twice
The most common failure is covering rust instead of removing it. Rust converter products can be useful on stable surface oxidation in areas that cannot be blasted or replaced, but they are not a substitute for cutting out perforated steel. Do not bury flaky rust under filler, fiberglass, undercoating, or thick seam sealer.
Another mistake is coating only the outside. The paint may look perfect, while the backside remains bare and begins corroding immediately. Also avoid spraying heavy rubberized undercoating over loose rust or damp seams. It can trap moisture where you cannot see it.
Good tools make this work more predictable: clean abrasives, metal-shaping tools, a reliable MIG welder, welding consumables, epoxy primer, seam sealer, cavity protection, and compatible paint materials. GTPRACING carries restoration and fabrication supplies for builders who want to handle the full repair process without piecing together questionable materials. https://www.gtpracing.com/primer?currency=CAD
A cab corner is not just a patch panel job. It is a corrosion-control job with a patch panel in the middle. Cut back to good steel, weld with patience, and protect every side you can reach. That is how you bring a rusty truck back without scheduling the same repair again.


Comments