


How to Use Rust Encapsulator Right
- ERIC GIROUX
- May 2
- 6 min read
If you are figuring out how to use rust encapsulator, the first thing to know is this: it is not magic in a can. It works well when you apply it over properly prepped, tightly bonded rust. It does not fix loose scale, grease, trapped moisture, or rotten metal that should have been cut out and replaced.
That matters on real projects. A frame rail, floor pan, core support, suspension arm, or underside bracket can often be saved with the right prep and coating process. But if the metal is flaking apart or rust has already thinned it beyond safe use, encapsulator is not the repair. Do the job right - clean it, evaluate it honestly, and coat what is still worth keeping.
What rust encapsulator actually does
Rust encapsulator is a protective coating designed to seal existing surface rust from air and moisture so corrosion slows down or stops. It creates a hard barrier over stable rust and bare metal, depending on the product, and gives you a much better foundation than spraying paint straight over oxidation.
That said, not every rust product does the same job. Some are converters, which chemically react with rust. Others are encapsulators, which isolate it. Some can be topcoated easily, while others need a specific window or scuffing step before primer or chassis black goes over them. Read the tech sheet for the product you bought, because dry time, recoat window, and compatibility can change from brand to brand.
Before you use rust encapsulator, inspect the metal
A lot of failures happen before the coating ever leaves the can. Guys see orange metal, hit it with a wire wheel for two minutes, brush on a coat, and expect it to hold up for years. That shortcut usually shows up later as bubbling, lifting, or rust creeping back from underneath.
Start by checking whether the rust is only on the surface or whether the part is structurally compromised. Tap suspect areas with a pick or screwdriver. Look for swelling around seams, pinholes in pans, and scaling on the backside. If the metal is soft or perforated, fix the metal first. Encapsulator is for preserving metal, not replacing it.
Surface prep is where the job is won
Remove loose rust and failing old coatings
The coating needs a solid surface. Use a wire wheel, cup brush, flap disc, abrasive pad, scraper, or needle scaler depending on how heavy the corrosion is. You are not trying to polish everything back to bright metal unless the product calls for it. You are trying to remove anything loose, flaky, or poorly attached.
On a frame or underside part, this may mean aggressive mechanical cleaning. On thinner sheet metal, back off and avoid grinding away good material. Leave only tight rust and sound coating behind. If old paint is lifting, it has to go.
Degrease it thoroughly
This step gets skipped all the time, especially on chassis parts. Oil film, undercoating residue, silicone contamination, and road grime will ruin adhesion. Clean the part with a proper degreaser or pre-paint cleaner and use clean rags. Keep wiping until the rag stops coming up dirty.
If you are working around engine bays, suspension pickup points, or steering components, expect more contamination than you think. A part can look dry and still have enough residue to cause fish-eyes or adhesion failure.
Dry metal matters
Do not trap moisture under the coating. If you washed the part, used water-based cleaner, or blasted with compressed air that carries moisture, let the metal dry completely before coating. In humid conditions, give it extra time. Rust encapsulator needs a clean, dry surface if you expect it to last.
How to use rust encapsulator step by step
Stir it, do not shake it
Most rust encapsulators are heavy-bodied coatings. Stir the can thoroughly so the solids are fully mixed. Shaking can introduce bubbles, which can affect the finish and film build. If you are pouring some into a separate cup, keep the main can sealed as much as possible so you do not contaminate the product or start curing the whole container.
Choose the right application method
Brush, roller, or spray can all work. The right choice depends on the part and the finish you need.
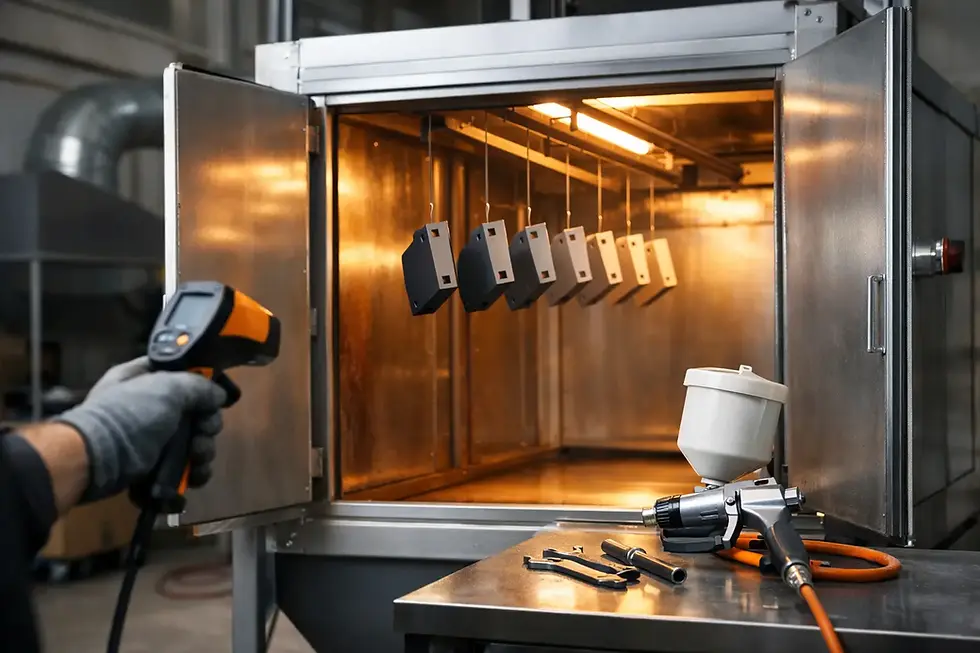
For brackets, frames, floor pans, and awkward underbody areas, brushing is usually the practical move. It pushes coating into pits and seams and wastes less material. For larger flat panels or visible components where finish matters more, spraying gives a more uniform look. If the product allows rolling, that can speed up broad surfaces like inner floors or trunk areas.
Use the method the manufacturer recommends. Some coatings need a specific reducer for spray application, and some should not be thinned at all.
Apply medium coats, not one heavy coat
A common mistake is laying it on too thick in one pass. Heavy coats can skin over on top while staying soft underneath, especially in lower temperatures. That leads to long cure times and poor durability.
Instead, apply a medium wet coat with even coverage. Let it flash according to the product instructions, then apply a second coat if recommended. Two controlled coats usually outperform one overloaded coat. Watch corners, weld seams, and pitted areas - they often need extra attention because that is where rust starts again.
Respect recoat and cure times
This is where a lot of home garage jobs go sideways. If the product says topcoat within a certain window, follow it. If it says you must scuff after full cure before applying primer or paint, do that too. Coatings are chemistry, not guesswork.
Temperature and humidity matter. A coating that flashes nicely at 75 degrees can behave very differently in a cold shop. If conditions are marginal, give it more time before handling or topcoating.
Do you need to topcoat rust encapsulator?
Sometimes yes, sometimes no. It depends on the product and where the part lives.
If the coated part is exposed to sunlight, a topcoat is often a good idea because many encapsulators are not fully UV stable. If it is on a chassis, suspension, or underbody area that sees abrasion, salt, fuel splash, or road debris, a compatible topcoat can add another layer of protection. On hidden areas inside a cabin or enclosed cavity, the encapsulator alone may be enough.
If appearance matters, topcoating also gives you the final color and sheen you actually want. A lot of builders use encapsulator as the protective base, then finish with chassis black, satin black, or another durable coating system.
Where rust encapsulator works best
It is a strong option for frames, subframes, axle housings, control arms, floor pans, trunk interiors, battery trays, seat brackets, radiator supports, and other steel parts with stable corrosion. It also makes sense on project cars where full media blasting is not realistic for every part.
It is less effective when rust is hidden between overlapping panels, packed deep into pinch seams, or active inside boxed sections you cannot properly clean. In those spots, cavity wax, internal frame coating, section replacement, or a more complete rust repair plan may be the better move.
Mistakes that shorten the life of the coating
The biggest one is coating over loose rust. The second is poor cleaning. After that, most failures come from using the wrong product for the job, rushing cure times, or skipping the topcoat when the environment calls for one.
Another mistake is treating all rusty parts the same. A weekend cruiser that stays dry is one thing. A truck frame in a salt state is another. If the vehicle sees weather, road debris, and temperature swings, the prep and coating system need to match that reality.
A practical shop approach
For most restoration and performance builds, the best process is simple: mechanically remove loose rust, degrease the part, let it dry fully, apply the encapsulator in controlled coats, and topcoat where needed. That approach works on everything from old muscle car chassis pieces to engine bay brackets and race trailer hardware.
If you are already buying primers, chassis coatings, abrasives, spray equipment, or metal repair supplies, keeping the whole system compatible saves headaches. That is one reason builders source these products from places like GTPRACING - you can line up the rust repair side of the job with the rest of the build instead of piecing it together blindly.
The bottom line is straightforward. Rust encapsulator is a solid tool when the metal is still worth saving and the prep is done right. Give it clean, stable metal and the correct cure time, and it will do its job. Try to use it as a shortcut over rotten steel, and it will remind you later. Bring rusty parts back to life, but be honest about what can be saved and what needs real repair.


Comments